
| 일 | 월 | 화 | 수 | 목 | 금 | 토 |
|---|---|---|---|---|---|---|
| 1 | 2 | 3 | 4 | 5 | 6 | 7 |
| 8 | 9 | 10 | 11 | 12 | 13 | 14 |
| 15 | 16 | 17 | 18 | 19 | 20 | 21 |
| 22 | 23 | 24 | 25 | 26 | 27 | 28 |
- react
- Django
- 소개딩
- 행정지역 DB
- reversing.kr
- restapi
- DBMS
- 3단계 지역 DB
- riceteacatpanda
- jsp
- frontend
- 소프트웨어 개발보안 경진대회
- webhacking 처음
- Database
- 정보보호병 후기
- ㅁㅇㅂ??ㅇㅈㄷ ㅎㅇㅌ...
- 동읍면 DB
- spring
- 네이버 인턴
- 인턴 후기
- EER
- Forensic 절차
- 메모리 포랜식
- SessionAttribute
- 인턴 지원
- PyAmdecoder
- mysql
- JSTL
- Layered Architecture
- 방명록 만들기
- Today
- Total
웹찢남
REACT 11일차 (컨텍스트) 본문
전에 배운 프로퍼티나 state는 부모와 자식 컴포넌트가 연결된 상태에서 공유하는 데이터다.
따라서 연결되지 않은 컴포넌트들 끼리 데이터를 공유해야할때 컨텍스트를 사용한다.
프로퍼티의 경우 컴포넌트가 1->2->3->4일 경우 1에서 4로 데이터를 전달하면
모든 단계를 다 거쳐야하는데 이때 해당 프로퍼티가 모든 컴포넌트에서 사용하지 않을 수도 있고
전달과정에서 누락될 수 있다. 이를 위해 도입한 디자인 패턴이 관찰자 패턴이다.
쉽게 말해 공급자는 데이터를 공급하는 역할, 관찰자는 이를 구독하여 데이터를 소비하는 역할이다.
따라서 관찰자는 소비자라고도 한다.
위의 관찰자 패턴을 도입하면 1->공급자->소비자->4로 여러 컴포넌트들을 거치지않고
데이터를 전달 할 수 있게 된다. 이에 따라 컴포넌트간의 자료 의존성이 없어진다.
공급자를 구현하는 방법은 해당 컴포넌트에 공급자의 자료형과 데이터 제공함수를 정의하면 된다.
import React, { PureComponent } from 'react';
import PropTypes from 'prop-types';
import ButtonWithContext from './ButtonWithContext';
import Button from '../04/Button';

function RowBComponent() {
  return <Button>버튼</Button>;
}

function RowCComponent() {
  return <ButtonWithContext>버튼</ButtonWithContext>;
}

function TableComponent() {
  return (
    <table>
      <RowBComponent />
      <RowCComponent />
    </table>
  );
}

class HomePageComponent extends PureComponent {
  constructor(props) {
    super(props);

    this.state = { loading: false };
    this.setLoading = this.setLoading.bind(this);
    this.toggleLoading = this.toggleLoading.bind(this);
  }

  getChildContext() {
    return {
      loading: this.state.loading,
      setLoading: this.setLoading,
    };
  }

  setLoading(loading) {
    this.setState({ loading });
  }

  toggleLoading() {
    this.setState(({ loading }) => ({ loading: !loading }));
  }

  render() {
    return (
      <div>
        <TableComponent />
        <Button onPress={this.toggleLoading}>상태 변경</Button>
      </div>
    );
  }
}

HomePageComponent.childContextTypes = {
  loading: PropTypes.bool,
  setLoading: PropTypes.func,
};

export default HomePageComponent;
여기서 공급자의 데이터는 state로 관리한다. loading은 로딩 상태 데이터고
setLoading 함수는 소비자가 데이터 변경 요청을 할 때 사용하는 콜백 함수다.
이 함수를 호출하면 소비자에서 setState 함수를 호출하여 공급자의 state를 변경한다.
후에 어차피 공급자 소비자를 구현해놓은 api를 알려주니 일단 공급자와 소비자의 구조를
알아두기만 하면 좋을 것 같다. 아래는 소비자다. 컨텍스트로 전달받은 객체를 프로퍼티로
변환하여 전달하는 모습을 볼 수 있다.
import React from 'react';
import PropTypes from 'prop-types';

export const loadingPropTypes = {
  loading: PropTypes.bool,
  setLoading: PropTypes.func,
};

export default WrappedComponent => {
  const { displayName, name: componentName } = WrappedComponent;
  const wrappedComponentName = displayName || componentName;

  function WithLoadingContext(props, context) {
    const { loading, setLoading } = context
    return (
      <WrappedComponent {...props} loading={loading} setLoading={setLoading} />
    );
  };
  WithLoadingContext.displayName = `withLoadingContext(${wrappedComponentName})`;
  WithLoadingContext.contextTypes = loadingPropTypes;
  return WithLoadingContext;
};
컨텍스트의 아주아주 기초 개념만 대충 익히고 컨텍스트 api를 살펴보자
컨텍스트 api를 사용하면 공급자와 소비자를 구현하지 않아도 된다.
우선 createContext()를 사용하면 컨텍스트를 생성한다. 사용 방법은 아래와 같다.
const MyContext=React.createContext(defaultValue);
일단 컨텍스트 api를 사용한 코드를 보며 생각을해보자
import React from 'react';

const { Provider, Consumer } = React.createContext({});

export { Consumer };

export default class LoadingProvider extends React.Component {
  constructor(props) {
    super(props);

    this.state = {};
    this.setLoading = this.setLoading.bind(this);
  }

  setLoading(key, value) {
    const newState = { [key]: value };
    this.setState(newState);
  }

  render() {
    const context = {
      ...this.state,
      setLoading: this.setLoading,
    };

    return <Provider value={context}>{this.props.children}</Provider>;
  }
}
우선 createContext 함수에 빈 객체를 인자로 전달하여 공급자와 소비자를 생성한다. (2번째 line)
소비자를 export 한 후 소비자가 공급자의 컨텍스트 데이터를 읽을 수 있도록한다. (3번째 line)
컨텍스트 데이터에 state 값과 함께 콜백 함수 setLoading을 추가한다. (render 내부)
공급자가 공유할 컨텍스트 데이터를 value 프로퍼티에 전달한다. (마지막 라인쪽 태그)
자식 프로퍼티를 출력하여 자식 컴포넌트에 컨텍스트 데이터를 전달한다.(this.props.children)
import React from 'react';
import PropTypes from 'prop-types';
import Button from '../04/Button';
import { Consumer } from './LoadingProviderWithNewContext';

function ButtonWithNewConsumer({ label }) {
  return (
    <React.Fragment>
      <Consumer>
        {value => (
          <Button onPress={() => value.setLoading('loading', !value.loading)}>
            {value.loading ? '로딩중' : label}
          </Button>
        )}
      </Consumer>
      <Consumer>
        {({ loading2, setLoading }) => (
          <Button onPress={() => setLoading('loading2', !loading2)}>
            {loading2 ? '로딩중' : label}
          </Button>
        )}
      </Consumer>
      <Consumer>
        {({ loading, loading2 }) => <Button>{loading && loading2 ? '로딩중' : label}</Button>}
      </Consumer>
    </React.Fragment>
  );
}

ButtonWithNewConsumer.propTypes = {
  label: PropTypes.string,
};

export default ButtonWithNewConsumer;
위는 소비자의 코드이다. 첫번째 소비자는 공급자의 value 프로퍼티에 전달된 값을
인자로 button 컴포넌트를 출력한다. 여기서 공급자의 setLoading 함수를 가져왔다.
두번째 소비자는 컨텍스트 데이터 loading2와 setloading을 인자로 받아 button을 출력한다.
세번째 소비자는 컨텍스트 데이터의 loading, loading2를 동시에 구독한 다음 button에 메시지를 출력한다.
컨턱스트로 모달만들기
모달이란 주위 배경은 어두워지고 알림창이 나오는 것을 의미한다.
보통 웹사이트에서 많이 써서 모달이 무었인지 알 수 있을 것이다.
1. 모달 박스와 반투명 배경 만들기
우선 컨텍스트는 신경을 쓰지말고 한번 만들어 보자
import React, { PureComponent } from "react";
import withStyles, { css } from "../04/withStyles";

class Modal extends PureComponent {
  render() {
    const { styles, children } = this.props;
    return (
      <div {...css(styles.overlay)}>
        <div {...css(styles.wrapper)}>
          <div {...css(styles.container)}>{children}</div>
        </div>
      </div>
    );
  }
}

export default withStyles(({ color, unit }) => ({
  overlay: {
    position: "fixed",
    zIndex: 9999,
    top: 0,
    left: 0,
    width: "100%",
    height: "100%",
    backgroundColor: "rgba(0,0,0,.5)",
  },
  wrapper: {
    verticalAlign: "middle",
  },
  container: {
    margin: "40px auto 0px",
    padding: unit * 4,
    backgroundColor: color.white,
    width: 400,
  },
}))(Modal);
위는 Modal.jsx로 이 코드가 이해가 안가면 안됩니당...
import React from "react";
import { storiesOf } from "@storybook/react";
import Modal from "../06/Modal";
import Button from "../04/Button";
import Text from "../04/Text";

storiesOf("Modal", module).addWithJSX("기본설정", () => (
  <Modal>
    <div>
      <Text>안녕하세용~!!</Text>
    </div>
    <Button>예</Button>
    <Button>닫기</Button>
  </Modal>
));
위의 코드는 storybook으로 위의 modal.jsx를 실행한 것이다.
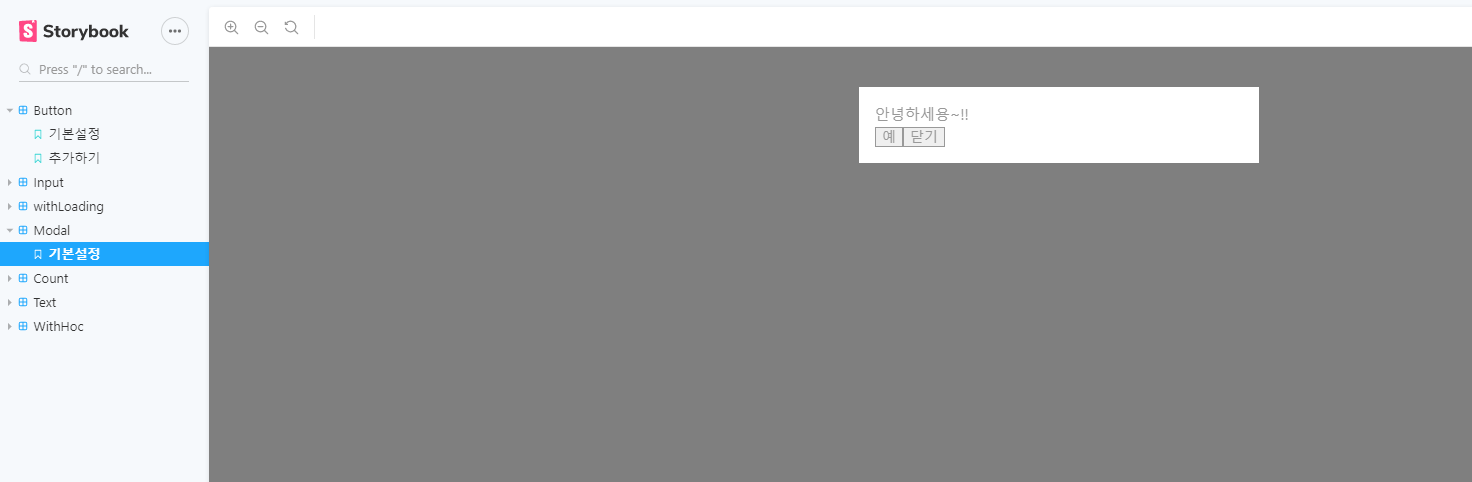
위와 같은 결과를 볼 수 있다.
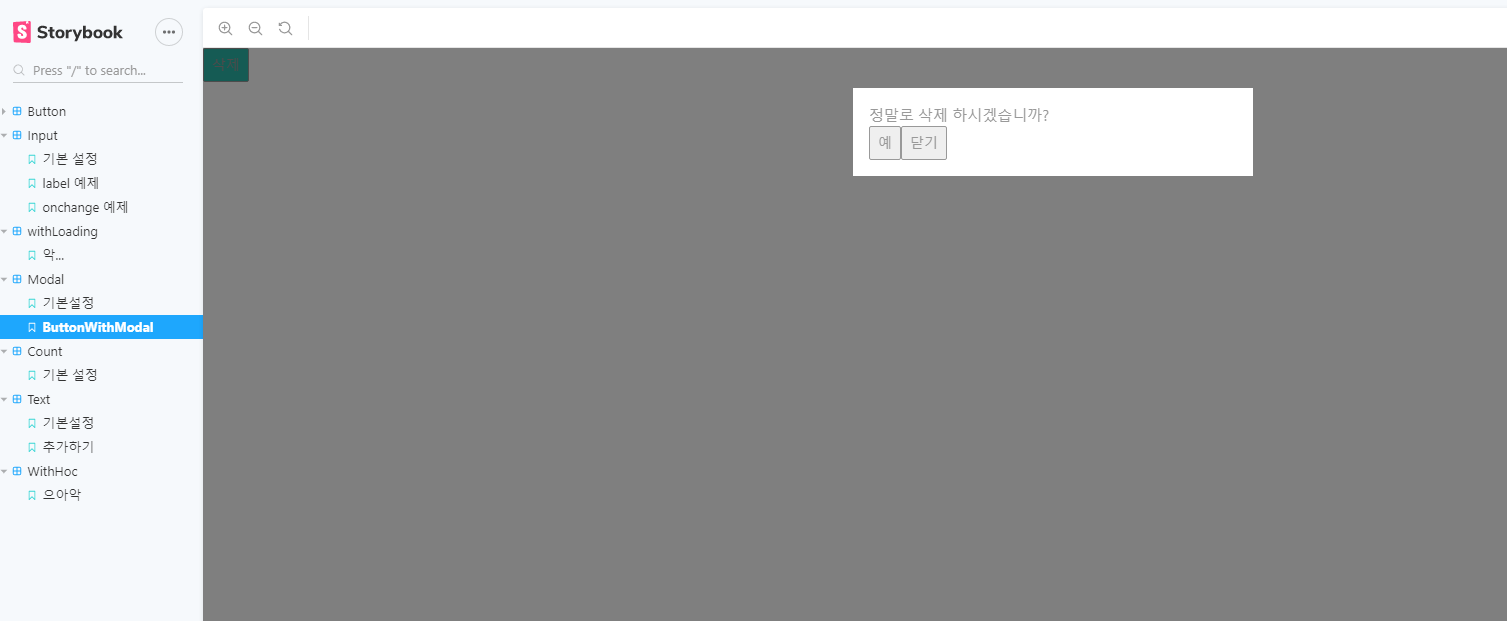
2. 버튼을 누르면 모달 박스가 나타나도록 하기
import React, { PureComponent } from 'react';
import Button from '../04/Button';
import Text from '../04/Text';
import Modal from './Modal';

class ButtonWithModal extends PureComponent {
  constructor(props) {
    super(props);
    this.state = { showModal: false };
  }
  render() {
    return (
      <React.Fragment>
        <Button onPress={() => this.setState({ showModal: true })}>삭제</Button>
        {this.state.showModal && (
          <Modal>
            <div>
              <Text>정말로 삭제 하시겠습니까?</Text>
            </div>
            <Button primary>예</Button>
            <Button onPress={() => this.setState({ showModal: false })}>닫기</Button>
          </Modal>
        )}
      </React.Fragment>
    );
  }
}

export default ButtonWithModal;
버튼을 누르면 showModal의 값을 바꾸고 만약 showModal이 true일 경우 Modal을 띄운다.
Modal Provider와 소비자가 연결된 Button Component 제작
1. ModalProvider 만들기
import React, { PureComponent } from 'react';
import Modal from './Modal';
import Button from '../04/Button';
import Text from '../04/Text';

const { Provider, Consumer } = React.createContext({});

export { Consumer };

class ModalProvider extends PureComponent {
  constructor(props) {
    super(props);

    this.state = { showModal: false };
    this.handleClose = this.handleClose.bind(this);
    this.handleOpen = this.handleOpen.bind(this);
  }

  handleOpen(contentId, modalProps) {
    this.contentId = contentId;
    this.modalProps = modalProps;
    this.setState({ showModal: true });
  }

  handleClose() {
    this.setState({ showModal: false });
  }

  render() {
    const { children } = this.props;
    const { showModal } = this.state;

    return (
      <Provider
        value={{
          openModal: this.handleOpen,
          closeModal: this.handleClose,
        }}
      >
        {children}
        {showModal && (
          <Modal>
            <div>
              <Text>정말로 삭제 하시겠습니까?</Text>
            </div>
            <Button primary>예</Button>
            <Button onPress={() => this.setState({ showModal: false })}>닫기</Button>
          </Modal>
        )}
      </Provider>
    );
  }
}

export default ModalProvider;
-> 공급자 아래에 Modal 컴포넌트를 배치하여 showModal의 값에 따라 Modal 컴포넌트가 출력될 수 있도록함
this.props.children에는 소비자와 연결된 요소들이 출력된다.
2. 소비자와 Button 컴포넌트 연결하여 사용하기
.addWithJSX('ModalProvider', () => (
    <ModalProvider>
      <div>
        <Text>다음 버튼 눌러 모달을 실행합니다.</Text>
        <Consumer>{({ openModal }) => <Button onPress={() => openModal()}>삭제</Button>}</Consumer>
      </div>
    </ModalProvider>
  ))
story 내의 코드에는 삭제를 누르면 openModel()함수가 실행되며 공급자 state의 showModal값이
trueㅗ 변경되고 모델이 나타난다.
Context에 대한 이해도가 조금 부족한 듯 하나 추후에 프로젝트를 할때 써보면서 익혀보는 걸로....
'FRONT_END > REACT 공부' 카테고리의 다른 글
| REACT 12일차 (리덕스) (1) | 2020.07.14 |
|---|---|
| REACT 10일차 (하이어오더 컴포넌트) (0) | 2020.07.09 |
| REACT 9일차 (Style component) (0) | 2020.07.07 |
| REACT 8일차 (material design) (0) | 2020.05.23 |
| REACT 7일차 (스토리 북) (0) | 2020.05.22 |


